
This qrg describes how to use Document Manager for adding and editing documents for PASS administrators in PromisePoint.
From within PromisePoint, click on the Resources menu from the menu bar at the top of the page (or wherever your Documents are listed):
- You will see the Categories set up by Breakaway Adoption Solutions:
- You will see the list of categories available to choose from. Choose one of the categories from the list, or in this example click on the resource folder to access the list of these categories from the Document Manager.Note: When categories are needed open a ticket with Product Support to add them.In this example, Clinical Process Documents is chosen:

- You will see either a list of documents or additional subcategories. Next to each category is a Version and Update column. These columns are meaningless at the subcategory level.
- In this example, Home Health is chosen:

- Depending on your PromisePoint set up additional subcategories could be listed or like in this example documents that have been added will be listed:

- The Version column displays the number of versions of the document listed have been added. By default the latest version uploaded will be accessed. The Updated column displays the date the latest version of the document was added. There is also an icon to display what type of document it is. In this example, the icon displays all Microsoft Word documents
-
From here learners may access the documents by click on the document title/link, and download the document. For PASS admins, they can not only download the document but they can edit the document by clicking on the pencil next to the document, or add additional documents to this category.
In this example, click the Add File button at the top.

REMOVING A DOCUMENT
Removing a document does not delete the document but will remove it from the documents list. Documents that have been removed can easily be retrieved by Breakaway Support.
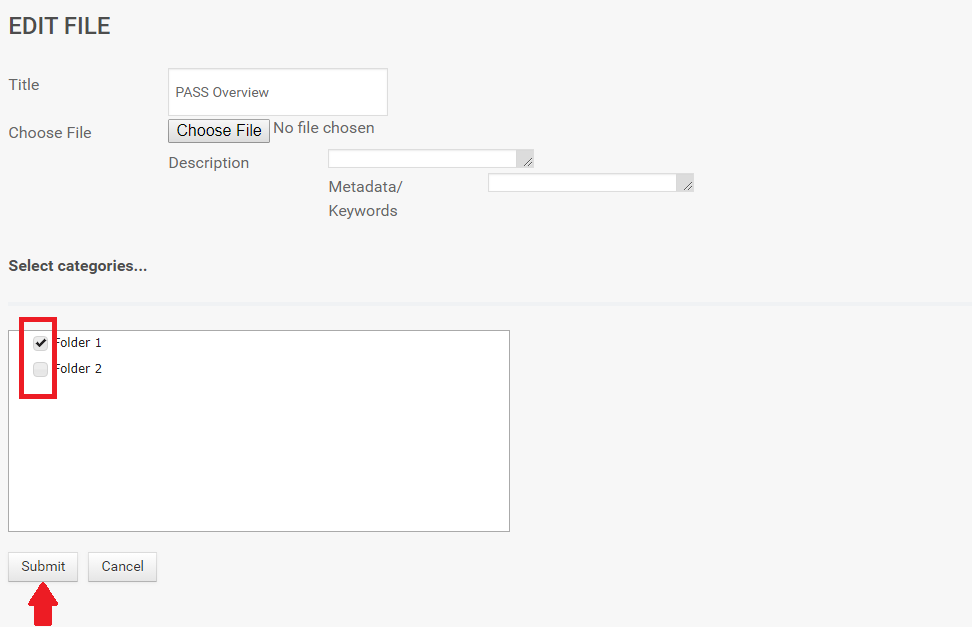
- Click on the pencil edit icon of the file you wish to remove.

- Uncheck the folder of where the document lives then click "Submit".
- Verify that the process was successful by looking for the green banner and verifying the file no longer lives in the folder.

0 Comments